Tag Archives: Headshot photographer St. Louis

Maximizing Your Conference ROI with Photography and Video

Conferences are invaluable opportunities for networking, learning, and showcasing your brand’s expertise. They bring together industry leaders, professionals, and potential clients under one roof, providing a fertile ground for forging connections and driving business growth. However, the benefits of conferences extend far beyond the event itself. With strategic photography and videography, you can extend the reach and impact of your conference, maximizing your return on investment (ROI) in numerous ways.

Highlight key speakers and sessions, and evoke anticipation among your target audience.

Importance of Documentation

Documenting your conference through photography and video is not merely a matter of capturing fleeting moments. It’s about preserving the essence of your event, encapsulating the energy, insights, and connections that transpire. These visual assets serve multiple purposes, both during and after the conference:

1. Content Creation

High-quality photographs and videos provide rich material for content creation. From social media posts and blog articles to promotional videos and newsletters, visual content engages your audience and keeps the conference experience alive long after it ends.

2. Marketing and Promotion

Compelling visuals are instrumental in marketing your future conferences. They convey the value proposition, highlight key speakers and sessions, and evoke anticipation among your target audience.

3. Brand Building

Consistent, professional imagery reinforces your brand identity and credibility. It showcases your commitment to excellence and positions your brand as a leader in your industry.

4. Knowledge Sharing

Videos of conference presentations and workshops enable attendees to revisit valuable insights and share them with colleagues who couldn’t attend. This extends the reach of your event and enhances its educational impact.

Tips for Effective Conference Photography and Videography

Creating impactful visual content requires careful planning and execution. Here are some tips to ensure your conference photography and videography hit the mark:

1. Understand Your Objectives

Clarify your goals for capturing the conference. Are you aiming to promote future events, showcase attendee engagement, or capture specific moments? Understanding your objectives will guide your approach to photography and videography.

2. Create a Shot List

Develop a shot list outlining the key moments, speakers, and activities you want to capture. This ensures that nothing important is missed and helps your photographers and videographers stay organized.

3. Focus on People

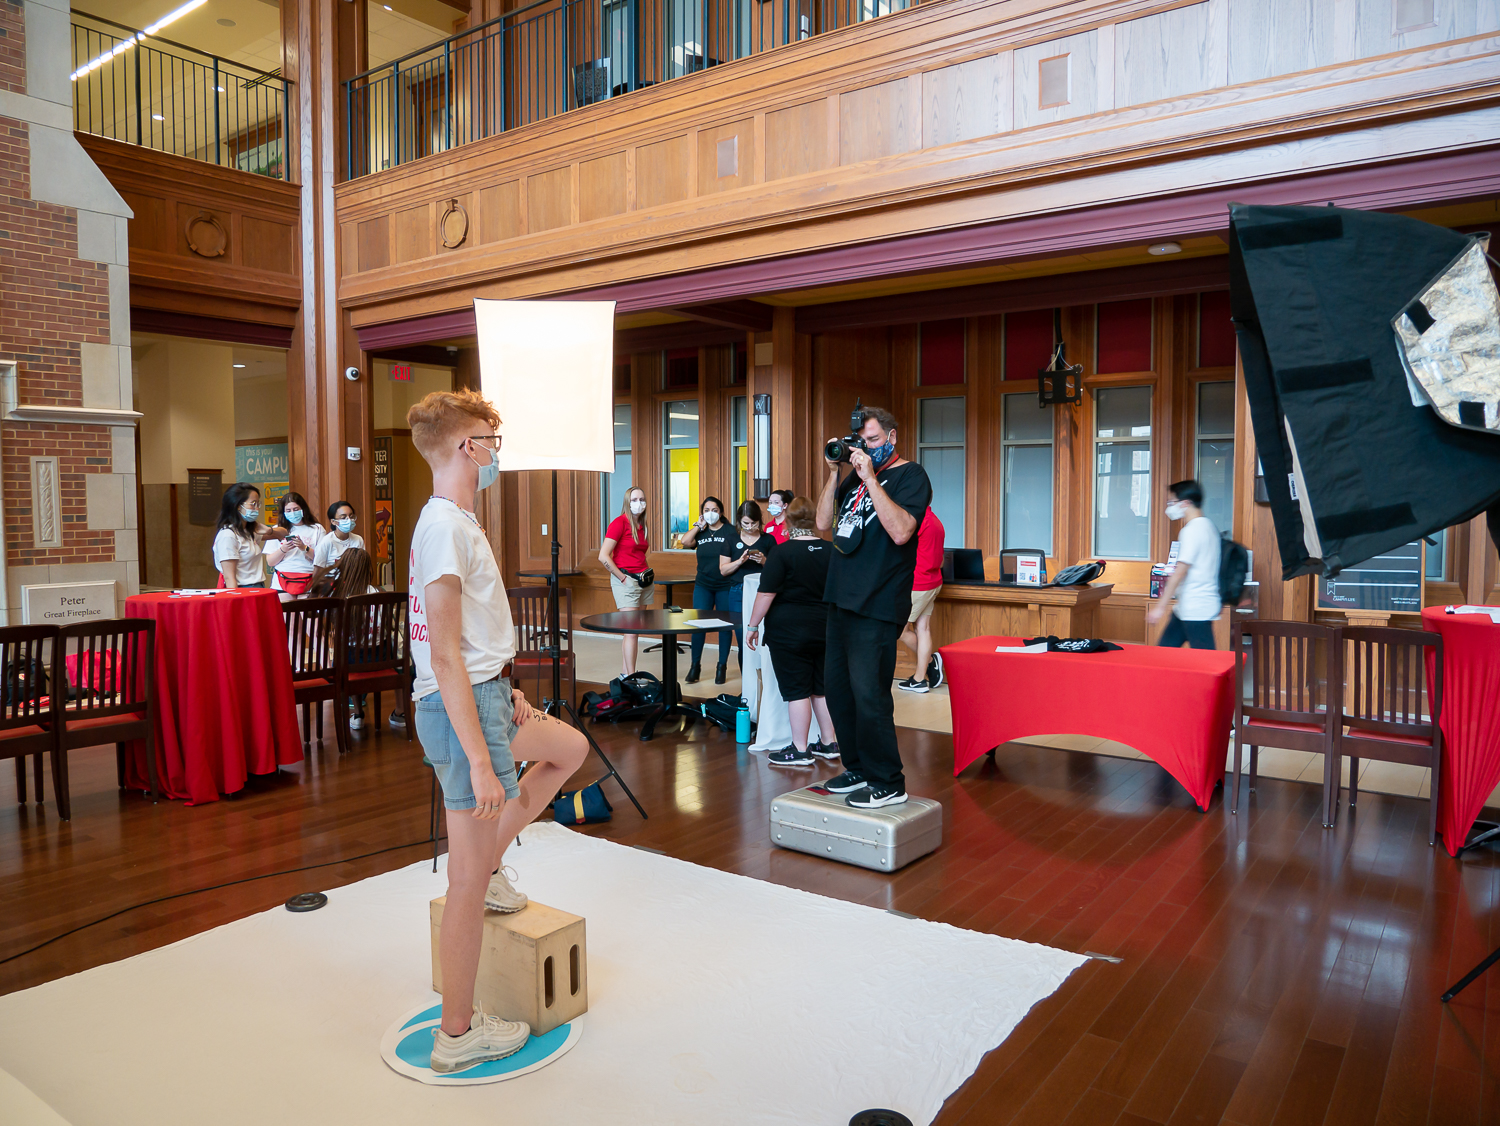
While venue shots and branding are important, the heart of any conference lies in its people. Prioritize capturing genuine interactions, engaging presentations, and expressions of enthusiasm among attendees.

4. Utilize Different Perspectives

Experiment with various angles and perspectives to add visual interest to your content. Mix wide shots of the venue with close-ups of speakers and attendees to provide a comprehensive view of the conference experience.

5. Capture Authentic Moments

Candid shots often convey the authenticity and energy of an event better than posed photos. Encourage your photographers to capture spontaneous interactions and reactions throughout the conference.

6. Ensure High Quality

Invest in professional equipment and experienced photographers and videographers to ensure high-quality results. Crisp images, clear audio, and smooth video footage enhance the credibility and appeal of your content.

7. Plan for Post-Production

Factor in time for post-production editing and refinement. Editing can enhance the visual appeal of your photos and videos, ensuring they align with your brand aesthetic and messaging.

Leveraging Your Visual Assets

Once you’ve captured a treasure trove of conference photography and videography, it’s time to leverage these assets to their fullest potential:

1. Content Distribution

Share your visual content across relevant channels, including your website, social media platforms, and email newsletters. Tailor your content for each platform to maximize engagement.

2. Create Highlights Reels

Compile short highlight reels showcasing the most impactful moments of the conference. These reels are perfect for promoting future events and generating excitement among your audience.

3. Generate Testimonials

Use video testimonials from satisfied attendees and speakers to reinforce the value of your conference. Authentic testimonials resonate with potential attendees and encourage them to participate in future events.

4. Repurpose Content

Repurpose your conference photography and videography into various formats, such as blog posts, infographics, and podcasts. This extends the lifespan of your content and reaches different segments of your audience.

5. Measure Performance

Track the performance of your visual content using analytics tools. Monitor metrics such as engagement rates, website traffic, and lead generation to gauge the effectiveness of your photography and videography efforts.

Conclusion

Photography and videography are indispensable tools for maximizing the ROI of your conference. By capturing the essence of your event and leveraging visual assets effectively, you can extend its reach, amplify its impact, and lay the groundwork for future success.

As a full-service video and photography production company, St Louis Photographers has worked with many businesses, marketing firms, and agencies in the St. Louis area for their corporate photography and video. With our extensive experience, state-of-the-art equipment, and creative team, we are well-equipped to handle all your conference documentation needs. From capturing key moments to post-production editing and content distribution, we ensure that your conference visuals leave a lasting impression.

Contact us today to learn more about how St Louis Photographers can elevate your conference documentation and maximize your ROI through compelling photography and videography.

314-913-5626

stlouisphotos@gmail.com

The Art of Crafting the Perfect LinkedIn Profile Photo for Job Seekers

Recent surveys reveal that over 85% of recruiters and hiring managers rely on LinkedIn to source and screen potential candidates. This underscores the importance of presenting yourself professionally through your profile picture, as a less-than-ideal photo could potentially cost you your dream job.

In addition to lower photo quality, cell phone cameras often use wide-angle lenses that can be unflattering. The difference between a proper camera and a cell phone is evident to anyone viewing the photos.

Without further ado, let’s delve into the top 5 common LinkedIn profile photo mistakes to avoid:

Mistake #1: Outdated Appearance As a general guideline, consider updating your headshot every two years. Although you might not notice significant changes in your appearance over a short period, our bodies and faces continually evolve. If you’ve undergone a significant change in weight, hairstyle, or switched industries, it’s wise to update your photo promptly.

Don’t create an unprofessional first impression by appearing significantly different online than you do in person. Wondering if it’s time for a LinkedIn profile photo update? Check out our quick guide on taking a professional headshot at home using your smartphone.

Mistake #2: Inappropriate Attire When it comes to clothing, different industries have varying expectations. In general, it’s advisable to dress up for your LinkedIn photos. A solid-colored button-down Oxford-style shirt is a safe choice that works well across industries.

Mistake #3: Unfitting Background Just like your clothing, your industry should dictate the backdrop for your headshots. You can choose between outdoor, studio, or office settings.

  • Studio: Plain studio backdrops are the most common and undeniably professional option for your headshot. They also eliminate concerns about weather or outdoor conditions.
  • Outdoor: Opt for outdoor sessions if you want a friendlier profile photo or if your profession is closely linked to nature. A skilled headshot photographer can suggest locations with urban, natural, or cultural vibes.
  • In-Office: If you have access to a stylish office, you can use it as your photo backdrop, conveying power and success. Just ensure your space is tidy before the shoot.

Uncertain about the ideal backdrop for you? Take our free HeadShot Recommendation Quiz for personalized suggestions based on your industry, personality, and career goals. Many of our customers choose Our Combo Session, which offers a balanced mix of outdoor and studio shots for maximum variety.

Mistake #4: Using a Cell Phone Photo For heaven’s sake, avoid using an iPhone or any cell phone for your headshot. While smartphone cameras have improved over the years, they still lag behind dedicated professional cameras and lenses in terms of quality.

In addition to lower photo quality, cell phone cameras often use wide-angle lenses that can be unflattering. The difference between a proper camera and a cell phone is evident to anyone viewing the photos.

Mistake #5: A Stiff and Formal Look Being professional doesn’t mean you need to appear stern. While some roles, like executives and lawyers, require a strong presence in photos, an excessively stiff LinkedIn headshot can make you seem uncomfortable or awkward.

Watch out for bad posture and forced smiles, as these can give away the stiffness in your photo. Ultimately, you should aim to convey professionalism, competence, confidence, and approachability in your headshots.

Bonus Mistake: Neglecting Editing and Airbrushing In everyday life, minor imperfections like yellow teeth, acne, or stray hairs often go unnoticed due to people’s constant movement. However, in high-resolution still photography, these imperfections can be distracting.

A quality headshot should undergo subtle yet effective editing to remove distracting elements such as yellow teeth, acne, and stray hairs.

In Summary: Elevate Your Headshot and Secure More Interviews Thank you for reading! By avoiding these common mistakes, you can ensure your LinkedIn profile photo stands out, increasing your chances of landing interviews with competitive companies.

If you’re considering updating your headshot, call or email us today. 

314-913-5626

stlouisphotos@gmail.com

What is Resolution in Photography?

As a photographer, understanding resolution is crucial to capturing and delivering high-quality images to your clients. Resolution plays a significant role in determining the clarity, sharpness, and overall visual appeal of a photograph. In this comprehensive guide, we will dive deep into the world of resolution in photography, exploring its technical aspects, how it affects your images, and why it matters in today’s digital age.

Let us capture your vision in stunning resolution!

What is Resolution?

In simple terms, resolution refers to the amount of detail or information contained in an image, typically measured in pixels. Each pixel represents a single point of color on the digital image. Higher resolution means more pixels, resulting in a clearer and more detailed image.

Resolution is often expressed in terms of width and height, such as 1920 x 1080 pixels (commonly known as Full HD or 1080p) or 3840 x 2160 pixels (known as 4K). The total number of pixels in these examples would be 2.1 million and 8.3 million, respectively.

Megapixels: The Measure of Resolution

Megapixels (MP) are a common unit used to quantify resolution, especially in digital cameras. A single megapixel represents one million pixels. So, a 12-megapixel camera captures images with a resolution of 12 million pixels. The more megapixels a camera has, the higher the potential resolution of the images it can produce.

It’s essential to note that while higher megapixel counts allow for larger prints and more flexibility during post-processing, a higher megapixel count does not guarantee better image quality. Other factors, such as the camera’s sensor size, lens quality, and post-processing techniques, also significantly impact image quality.

Understanding DPI and PPI

Resolution in photography is closely related to two terms: DPI (dots per inch) and PPI (pixels per inch). Both of these terms are used to describe the amount of detail in a printed image.

DPI refers to the number of ink dots a printer can place on a square inch of paper. A higher DPI results in a more detailed print, but it’s essential to match the printer’s DPI capabilities with the image’s resolution to achieve the best results.

On the other hand, PPI is used to describe the number of pixels per inch on a digital image. Higher PPI means more pixels are packed into each inch of the image, leading to a higher resolution and greater image detail.

Print Resolution vs. Screen Resolution

Photographers often encounter two distinct scenarios when dealing with resolution: print resolution and screen resolution.

Print Resolution:

Print resolution is essential when your images will be printed, such as for photo albums, posters, or fine art prints. For high-quality print results, aim for an image resolution of at least 300 PPI. This resolution ensures that the printer can reproduce the image accurately and with sufficient detail.

Keep in mind that print size affects the perception of resolution. Smaller prints may appear sharper, even at lower resolutions, while larger prints demand higher resolutions to maintain clarity and detail.

Screen Resolution:

Screen resolution, on the other hand, is critical for images displayed on electronic devices such as computers, tablets, and smartphones. The most common screen resolution standard for Full HD is 1920 x 1080 pixels, but with the rise of 4K monitors, resolutions of 3840 x 2160 pixels have become increasingly popular.

For web use and social media, a resolution of 72 PPI is generally sufficient, as electronic devices display images at a lower resolution than print. Higher resolutions may lead to larger file sizes, which can impact loading times on websites and consume more data for users viewing images on their mobile devices.

How Resolution Affects Image Quality

Resolution directly influences image quality and is a primary determinant of sharpness and detail. High-resolution images capture fine details, making them ideal for large prints and high-quality reproductions. On the other hand, low-resolution images lack detail and may appear blurry or pixelated when printed or viewed on high-resolution screens.

When capturing photographs, it’s essential to consider the intended use. If your images are primarily for digital display, a lower resolution may suffice, but for printing purposes, higher resolution is necessary to ensure the best results.

Balancing Resolution and File Size

One of the key challenges in photography is finding the right balance between resolution and file size. Higher resolution images with more megapixels result in larger file sizes. This can be a concern when dealing with limited storage space or when uploading images to the web.

Photographers often shoot in RAW format to preserve the most detail and information in an image. However, RAW files can be quite large, making them less practical for web use or quick sharing on social media. In such cases, converting RAW files to compressed formats like JPEG can significantly reduce file sizes while still maintaining a decent level of image quality.

Importance of Resolution in Branding and Marketing

For businesses, especially those in the St. Louis region, high-quality images are crucial for branding and marketing communications. Professional photography with optimal resolution enhances brand perception, credibility, and engagement with potential customers.

As an experienced full-service photography studio based in St. Louis, St Louis Photographer understands the importance of resolution and all aspects of photography. We have catered to numerous clients, providing top-notch photography production and retouching services. Our team is well-versed in handling photography, video, and multimedia production to meet your branding and marketing needs.

Through our expertise, we have created hundreds of photography shoots for various wonderful folks in the St. Louis region. Whether you require stunning images for promotional materials, social media campaigns, or product catalogs, we have the experience and resources to deliver exceptional results.

If you are looking to elevate your brand through outstanding visuals, St Louis Photographer is here to assist you. Contact us today to discuss your photography needs and see how we can help your business stand out through the power of high-resolution photography.

Contact St Louis Photographer today and let us capture your vision in stunning resolution!

314-913-5626

stlouisphotos@gmail.com

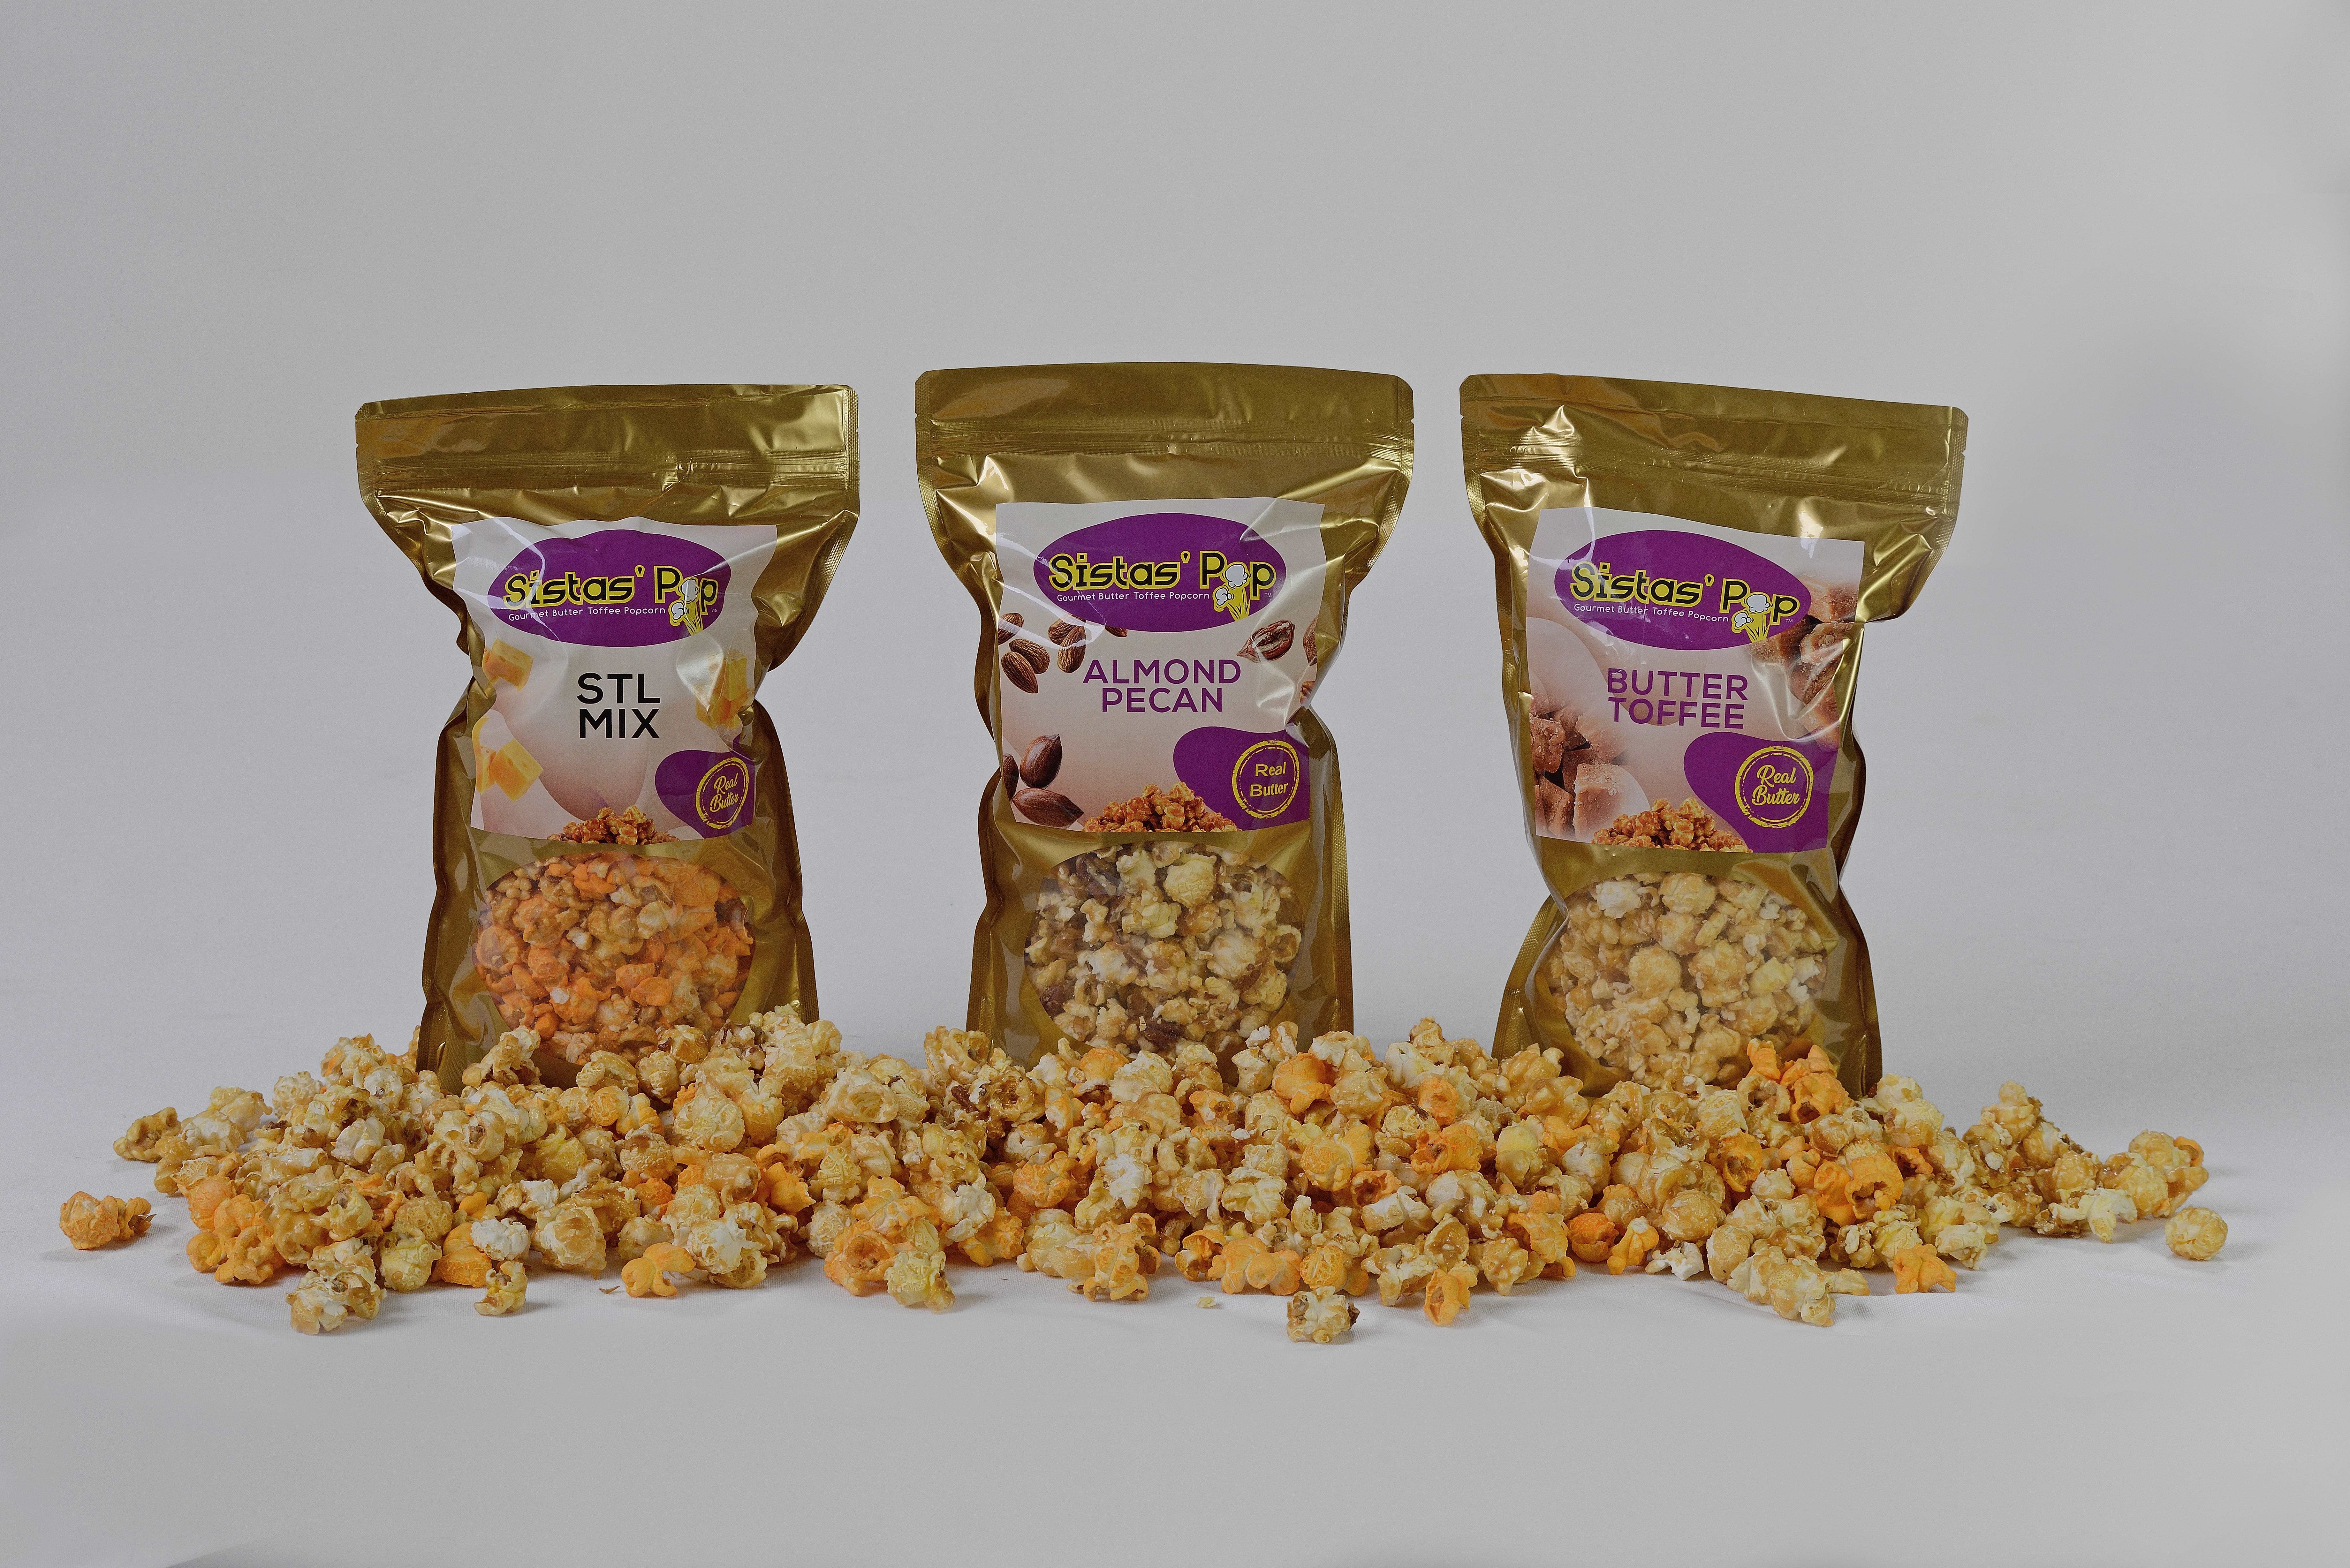
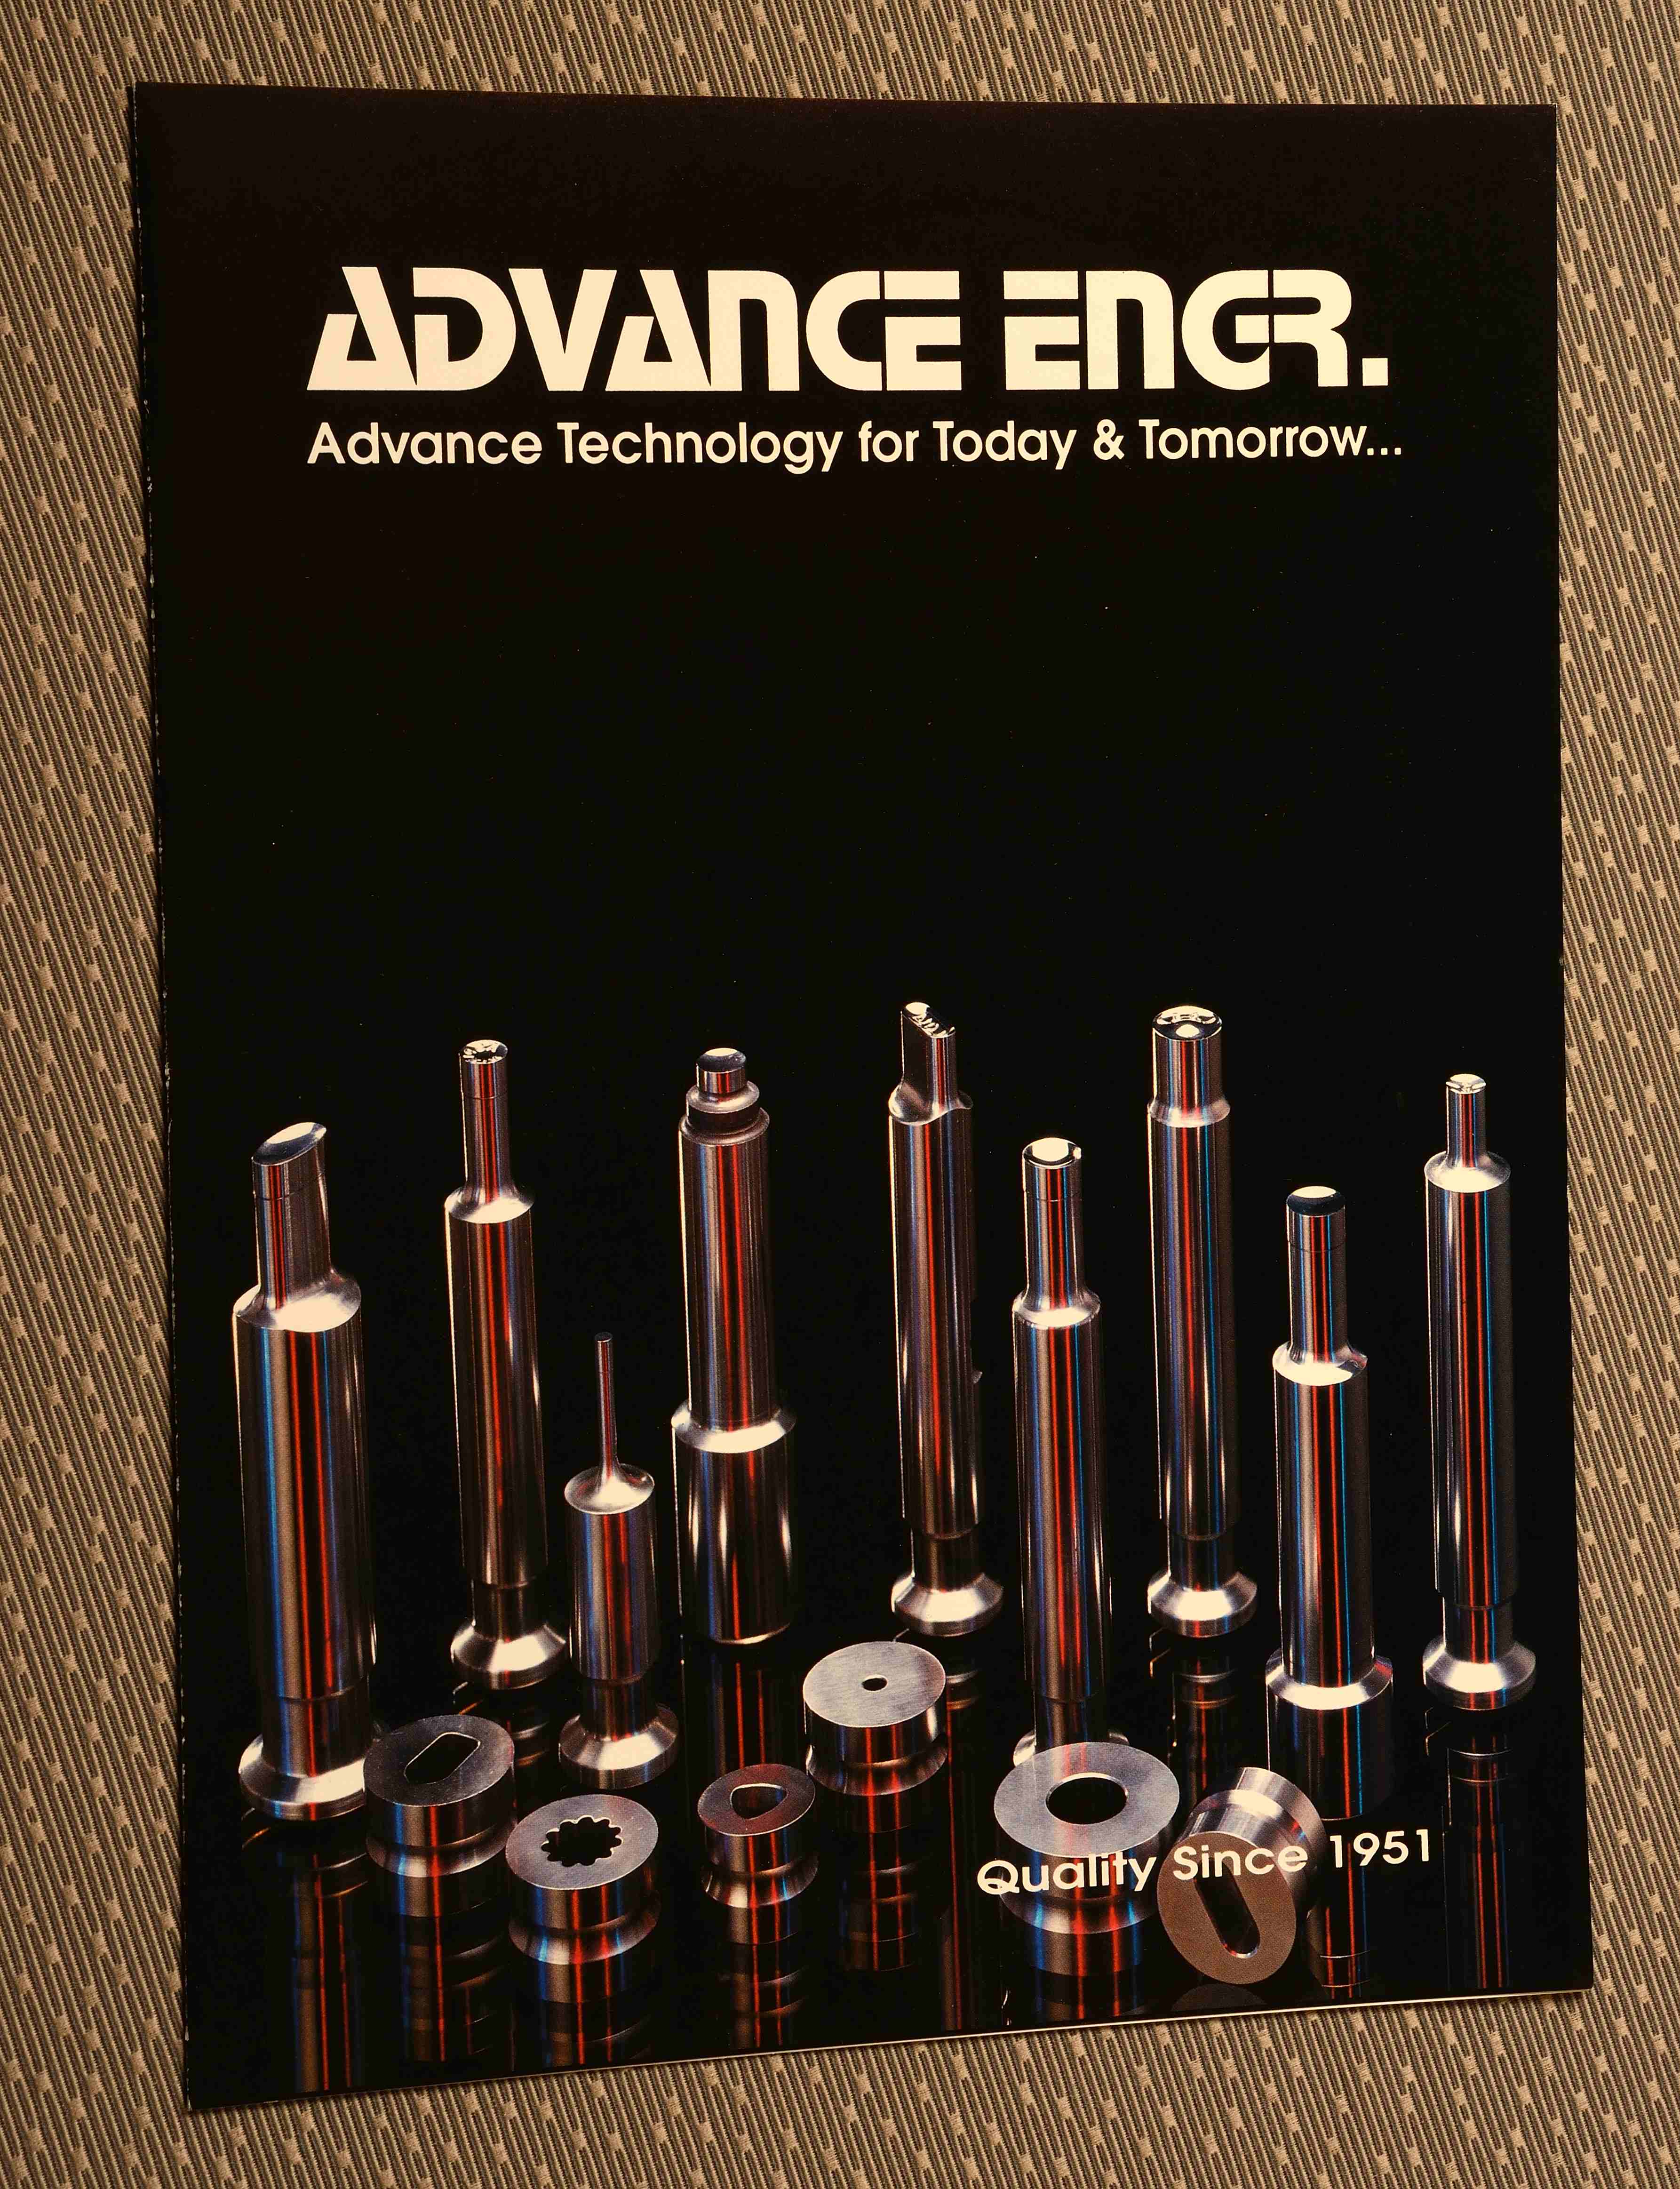
Ideas to Enhance Your Business Photography to Increase Your Sales and brand awareness.

15 excellent product photography concepts to assist with sales

You don’t have much time to make an impact on your target audience, so you must use every bit of it to your advantage…even if it’s just a millisecond. Captivating visuals of your products can help you do this.

No matter what kind of merchandise you have for sale, from beer to hoodies, the visual appeal of the product is of importance.

If you’re looking to take top-notch product photographs, consider investing in a quality crew with quality photography equipment. 

This post presents 15 suggestions to inspire creative product photography. The ideas provided aim to help photographers take engaging images of products that can potentially lead to increased sales.
1. Construct a setting

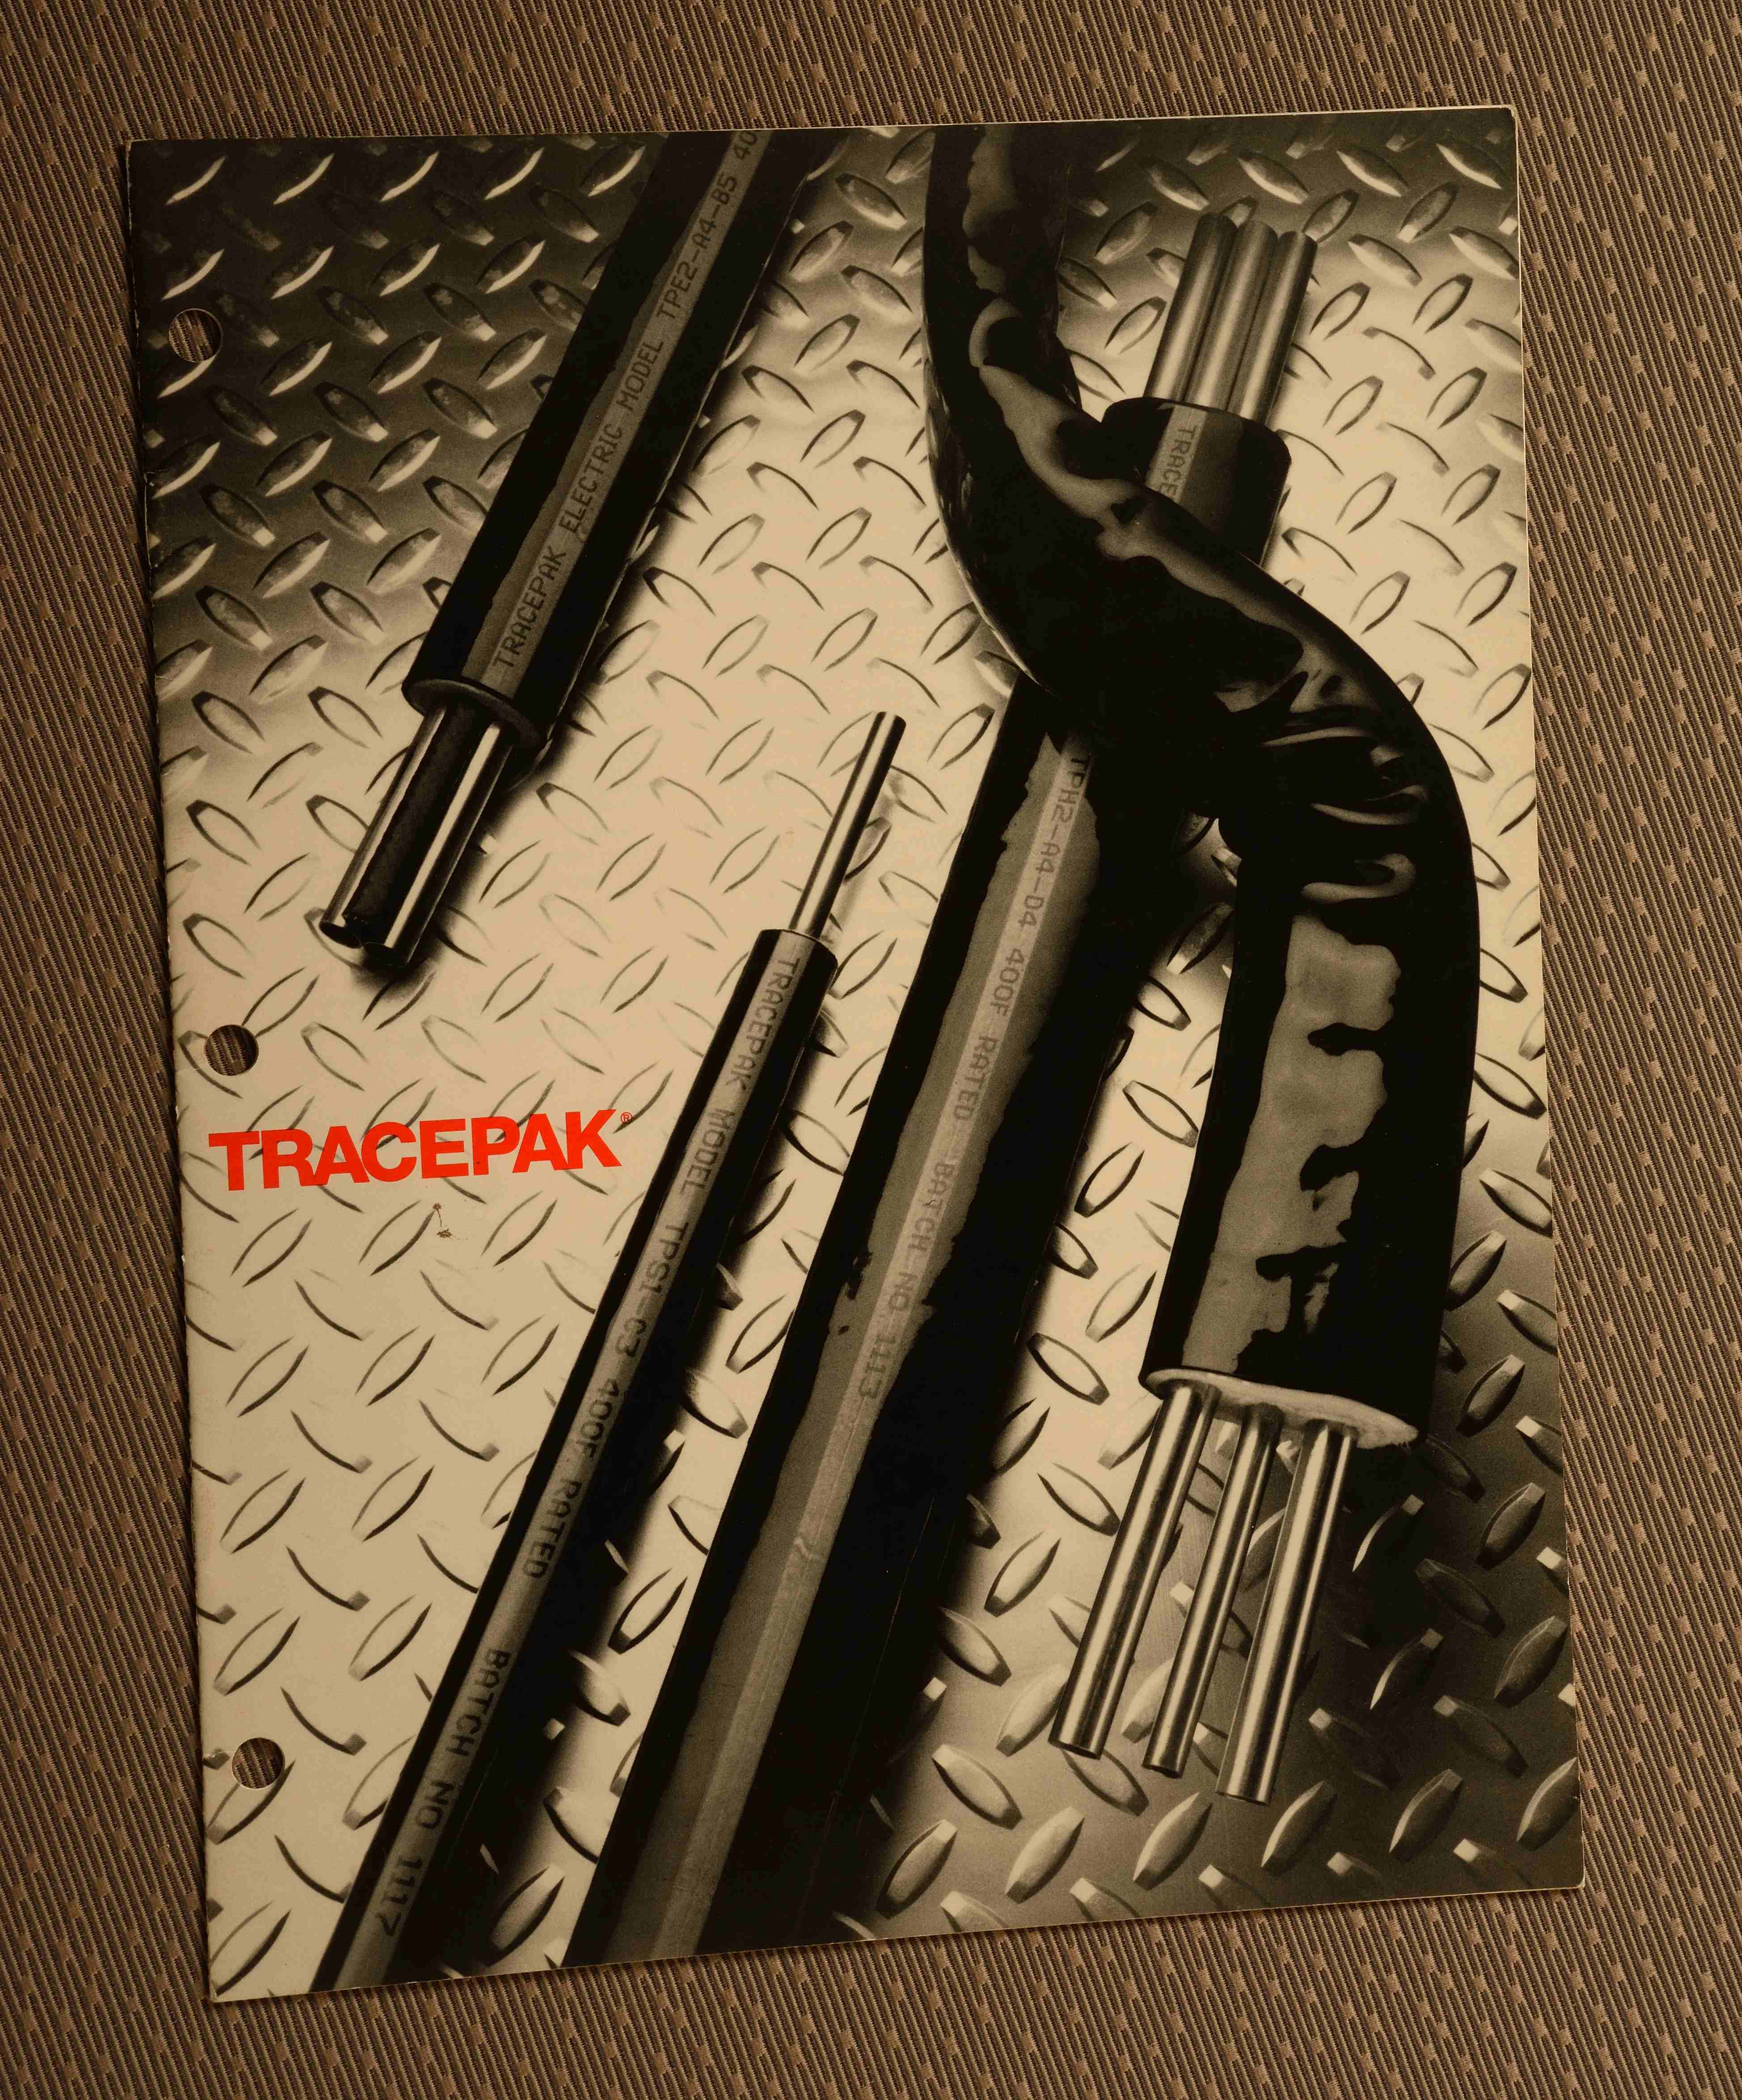
Beginning with this extensive topic, let’s start here! When taking a picture of your product, it is crucial to consider not only the product itself, but likewise the surrounding environment. You can take advantage of the backdrop to aid you in selling your item. You could be familiar with the saying: Rather than marketing the mattress, promote a peaceful slumber.

No matter the product, the same thought process should be used. Take beer, for example, don’t just focus on the item itself, focus on the experience it provides: a good time.

For sure, a lot of preparation is necessary to arrange a shot, so you could also decide to set up a scene yourself with the help of props.

An advertisement poster is shown with an image of a sleek desk. Image of a cool desk on a poster

Advise your clients that the poster isn’t the only thing to be sold – the attractive office space should be a priority as well.

The photographer has set up the product in a scene that makes the photograph more interesting and thus, will draw in more customers.

A common approach to product photography is to employ a Bokeh background, which is essentially a blur effect, to emphasize the product in the photo.

2. Close-up photos

Taking macro shots is a great way to capture detail and bring attention to features that may otherwise be overlooked. Close-up photography allows one to create beautiful and captivating images that are filled with fascinating detail.

Extremely close-up shots are known as macro shots and you can often see them in eateries. For example, a dollop of butter slowly flowing down a corn cob. These visuals are used to stir up our feelings and promote buying.

Consider this illustration – A close-up of a chess piece is pictured in one image, while a macro photo of a guitar is presented in the other.

Those who are passionate about chess and guitar playing will certainly have their enthusiasm stirred by a macro shot like this, reminding them of their hobbies and prompting them to make a purchase.

In addition to close-up shots, it is essential to include pictures of the item in its entirety. When selling items online, the more info you present, the more probable it is that someone will buy it. Customers need to be certain that what they see is what they will get.

3. Incorporate the product in the background

Rather than macro shots, one can place the product in the background of the shot. This allows the viewer to see it in its intended setting and encourages them to imagine how it would look in their own environment. For example, A sofa is accentuated by an art piece on the wall.

4. Snapshots in time with freeze frame photography

Creating freeze frame photographs can be an effective way to get someone’s attention. It’s a great way to be visually appealing.

A photo of a cup of coffee was taken with a rapid shutter speed. Image of the beverage shot quickly.

Getting the perfect product photograph can be a challenge, and it may take a large number of attempts to get the right one. However, when you do achieve that moment when it appears as though time has been frozen, you will have a professional-looking shot that will captivate customers. Just think of how amazing your custom-branded mug would look in a photo like that!

5. Image alteration

Photo manipulation can be referred to as image alteration, which involves modifying a picture in a certain way.

So far, the first technique that requires more than just a camera is photo manipulation. To create this effect, you will have to alter your photos.

If you’re looking to do some digital editing, you’ll need to get your hands on a software such as Photoshop or Adobe Illustrator. However, these aren’t exactly the most user-friendly, so you might want to look for some helpful tutorials online, such as on YouTube.

It might be a good idea to employ a designer to assist you. If you wish to convey the key idea of your product in an original and unforgettable manner, then photo editing is an excellent way to do that.

6. Demonstrate all product variants

Customers who shop online like to have an abundance of pictures to view so that they can be certain they are content with the item they are investing in. Therefore, it is beneficial to illustrate all the versions of the product in the images.

A picture of different shoes in three distinct colors would be  the example.

Three colors of shoes is important.  Don’t expect your customers to speculate what your product would look like in a different hue — provide them with an image! If your rivals are not doing this, it can give you an advantage and enhance your sales.

7. Demonstrate the utilization of the product

Prior to taking photos of your merchandise, collaborate with your colleagues to identify precisely what your ideal purchasers seek from your product. For instance, a skateboarder would be an action shot while slippers would be mellow and relaxing.  When creating product photos, make sure to illustrate the customers’ desire.

One way to catch the eye of potential customers is to demonstrate your products being utilized in unexpected ways, like this one: A woman dressed in a wedding gown was seen sporting pink baseball shoes beneath her clothing. A bride in a wedding dress with pink baseball shoes

Staying ahead of the competition is crucial in ecommerce, so if you have an idea that sets you apart, don’t hesitate to capitalize on it.

8. All-around photos

A 360 degree photo is a type of image that captures a full view of the surrounding environment. This includes capturing a full sphere of the surrounding area, providing viewers with an immersive experience.

When purchasing in a physical store, customers are able to physically examine the item by lifting it, observing it from different perspectives, and gauging its weight. However, when shopping online, people cannot do that.

Using Arqspin, you can provide a more interactive experience for your customers by enabling them to observe your merchandise from all perspectives.

By using Arqspin, you gain a spinning platform and the ability to utilize a cloud-based editing program so that you can create full 360-degree product images.

9. Demonstrate to people. 

It has been revealed by Toluna that a majority of individuals are drawn to advertisements and product images with real people. Furthermore, 62.3% of those surveyed said they found brands more relatable when they feature ordinary people.

Including individuals in your product photos is a great way to reach out to your target market. People will be able to identify with the photo and visualize themselves using or wearing your product.

10. Test out various angles

When taking a picture, it is typical to capture the image from one’s eye level.  For example, a mug situated at eye level.  Nevertheless, it does not hurt to try out different perspectives to discover something potentially more alluring.  Photography from a top-down angle is a favored option since it eliminates any visible point of view and instead demands that the audience concentrate solely on the subject of the picture.

11. Utilize a mirrored surface

Including a reflection to a product photograph can give it an extra special touch.  Imagine a gaming controller pictured on a glossy surface and showing it’s reflection.

Achieving the desired reflected surface look can be done by utilizing a photo manipulation tool, or making one by hand with a mirror. To make it more polished, modify the lighting in the area or use photo editing software.

12. Incorporate props into the equation

Assisting customers to visualize the utility of your product is achievable through the use of props. By utilizing the other items you are selling as props, it can help you to increase their sales.

A timepiece combined with an aged camera and a fashionable hip flask would be a visual example.

By adding more to the photo, it conveys a captivating narrative and offers more information about the product and the company selling it.

13. Products placed on hold

The suspension of certain products can be most interesting.

Photography buffs can enjoy themselves while creating a long-lasting impact with their work.  Imagine A baseball cap floating in the air.

An impressive image can be created by suspending a product and using clear fishing line. It might take some work, but once it is achieved, the line can be removed from the photo using Photoshop.

14. Independent, shoot simply the product

We’ve discussed in great detail the various things you can use to complement your products. From props to establishing a scene to having individuals use the item, these are all viable options. But, there could be cases where exhibiting the product on its own is the best way to go.

Simply shoot the product on a blank canvas.  It’s not always necessary to have fancy details – sometimes it can be more powerful to just put the spotlight on your item.

15. Reveal your individualism

Presenting photos of your products offers a great chance to express your brand’s personality. When customers become familiar with the character of your brand, it helps to increase their connection and loyalty.

When you think about your company’s character, think about how you can represent this in your item photos.  Sunning oneself on a beach bathed in sunshine can be a delightful experience. A beach on a sunny day is the concept.  Carefree and enjoying some sun. A feeling of being part of the scene is evoked. By doing this, the company is selling a sense of adventure, relaxation, and sunshine.

Extra Advice: If you’re looking to take top-notch product photographs, consider investing in a quality crew with quality photography equipment.  We can shoot on location or set-up in our studio is among the best recommendations we can make.

314-913-5626

stlouisphotos@gmail.com